In this guide we will move files from localhost access to the domain https://khandana.nix.id/public.
Step 1 – By default, Laravel will access the folder root Laravel and does not directly access the folder public belongs to him, so there needs to be a route so that when accessing the domain, access is directed directly to the file index.php which is in the folder public. Then how? now create an index.php file in the Laravel root folder.
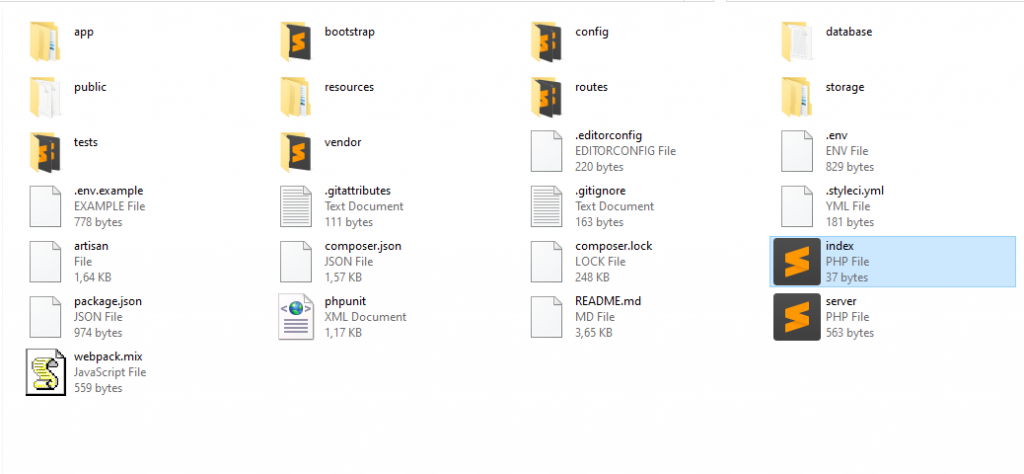
The index.php file is created in the Laravel root folder.
then fill in the following script:
“ <?php
header('Location: public/'); “
Then save it and make sure that when you access the domain it will go straight to the Laravel page.
Step 2 – The second step is to collect all the Laravel files into one file bycompress. So that it can be extracted directly in cPanel, use the .zip extension on the file being extracted.compress.
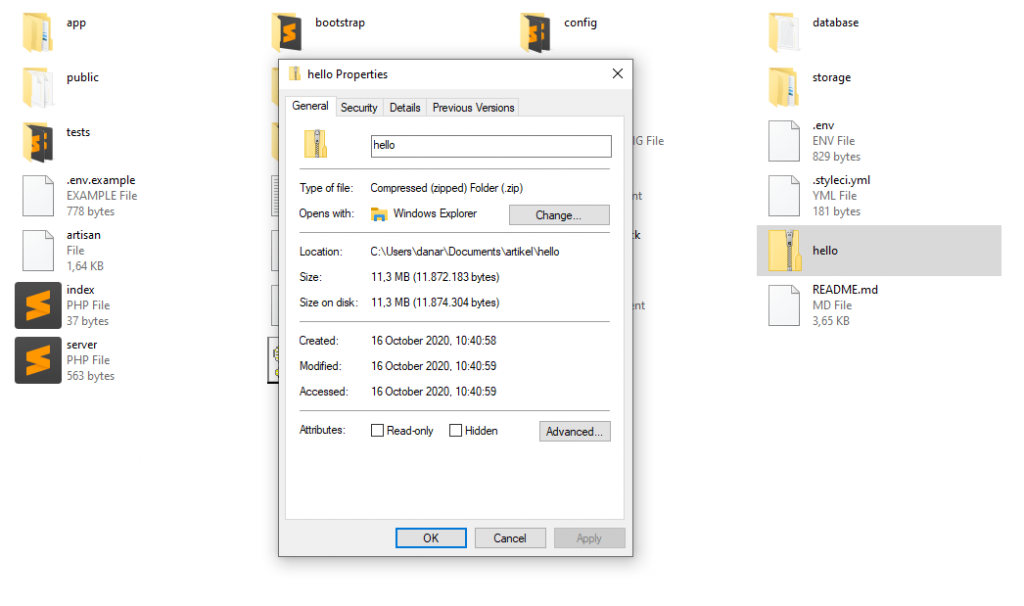
Compress Laravel files on Windows.
Step 3 – Then, please log in to cpanel first. for a tutorial on how to log in to cpanel Click here
Step 4 – Then look for the File Manager feature, use the search column to make it easier to find the File Manager feature, then click on the feature.
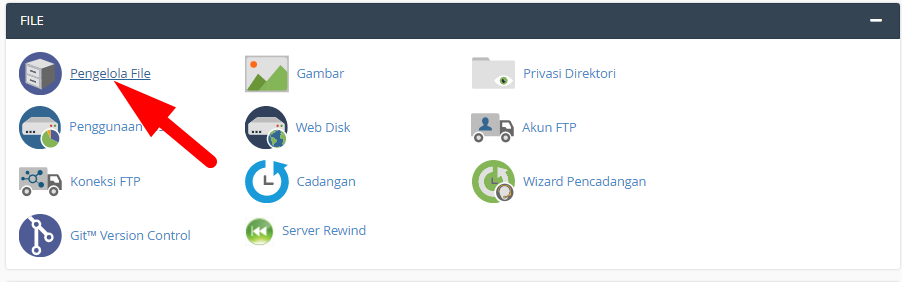
File Manager feature in cPanel
Step 5 – Upload the Laravel file and navigate to the folder that will be used for Laravel storage. In this example, we use the main folder public_html, so that the zip file from local is uploaded in that folder. You can upload zip files to public_html or another folder that you will use to access Laravel files.
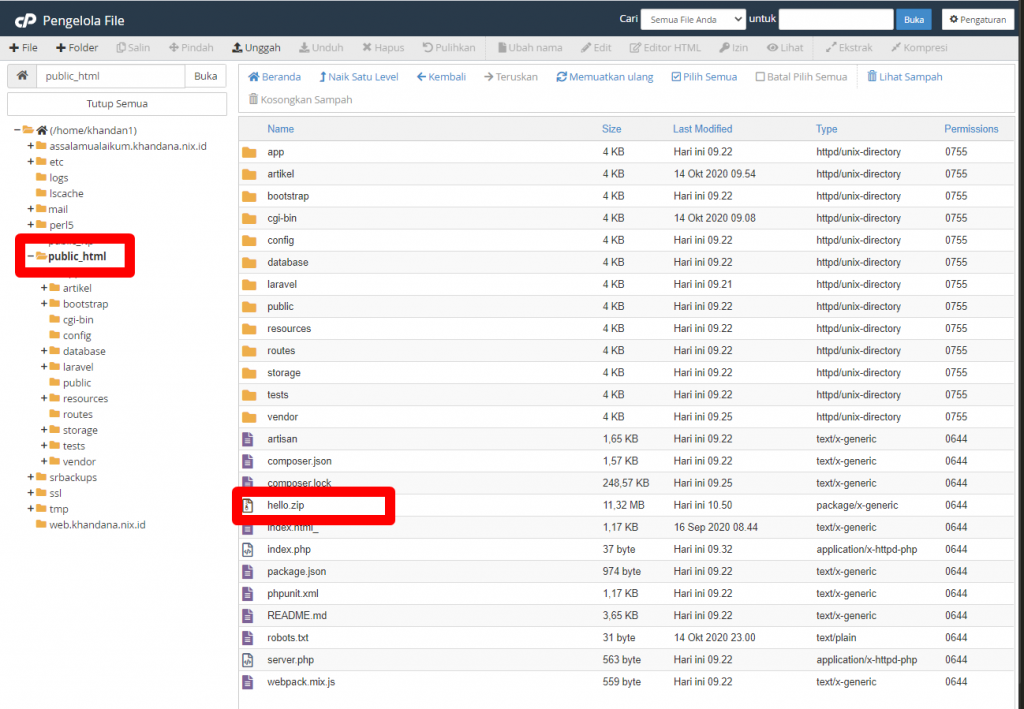
When the zip file has been uploaded, right click on the file and Extract, then all files will be in the folder public_html, as in the image above.
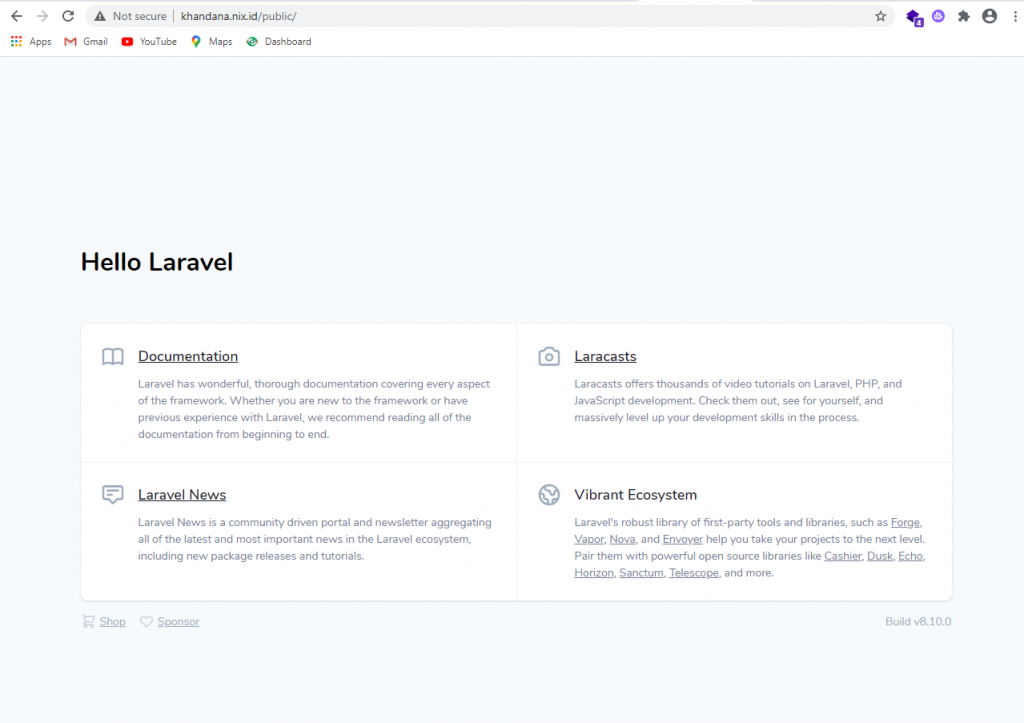
Step 6 – Test the results of uploading Laravel files. Testing can be done by accessing the domain used to store Laravel files. And taraaa, the result will be like the image below.
That's the Guide to Uploading Laravel Files to cPanel Hosting, I hope it's useful 😊😊.